BELOW ARE A FEW TIPS TO GET STARTED
First, create your FREE account by clicking Sign Up.
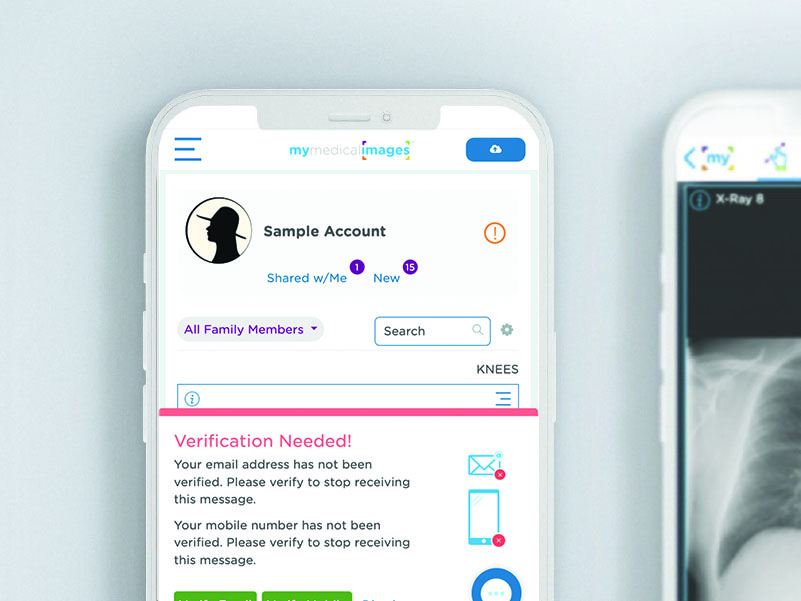
IMPORTANT – For security purposes, new account email addresses must be verified to enable certain features. To do this, simply login to your account and follow the prompt located at the bottom left corner of your dashboard.
Note: if using an .edu email, please check your spam folder initially.

Tip 1
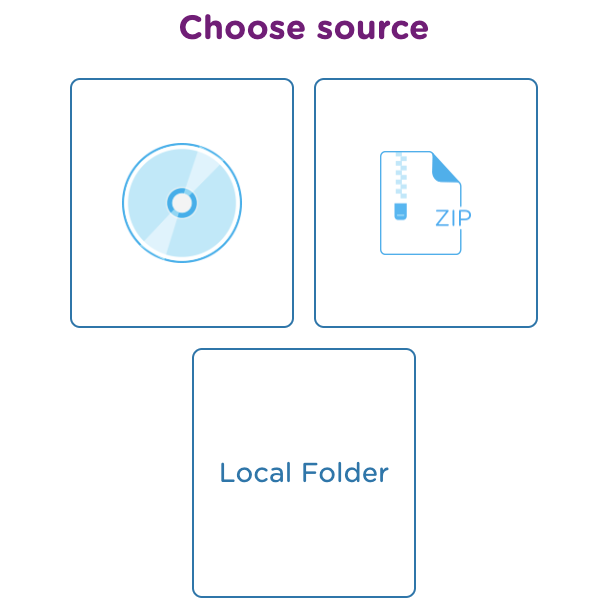
TO UPLOAD IMAGES you will need to have access to the athlete’s images, whether on a CD, zip file, or a thumb drive. Note: if on a CD, you’ll need a CD drive connected to your computer.
Tip 2
TO SHARE IMAGES with Physicians or Family, select “Share” from the menu located at the top right corner of an image. Images can be shared with physicians or family members – with or without a mymedicalimages account.
Note: recipients without a mymedicalimages account will have view-only access.
*Hint*
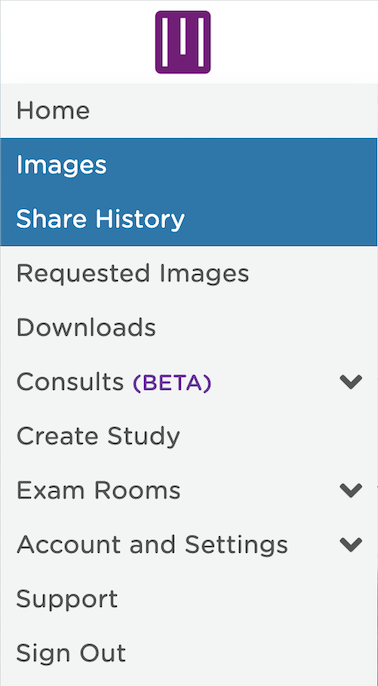
Have your images been viewed yet? To check the “View Status” (pending or viewed), click on the “Share History”, and choose tab “I Shared”.
Tip 3
TO REQUEST IMAGES select “Requested Images” from the drop-down menu located at the top left corner of your dashboard (home screen).
Input the athlete’s email and name. Athletes will be able to upload images at no cost and will receive a Free Basic Account. Once images have been received, an email notification will be sent from mymedicalimages. The status of requested images can be found on the “Request History” table.
Note: Use the Search Bar to find images from anywhere in your account. Type in the athlete’s name.
Tip 4
IF YOUR FACILITY HAS X-RAY or other medical imaging (DICOM) equipment you may be able to enable staff to view images immediately, without leaving the field of play.
For more information, to schedule a brief demo, or to set up our DICOM send feature
– please contact us at demo@mymedicalimages.com
BELOW ARE A FEW TIPS TO GET STARTED
First, create your FREE account by clicking Sign Up.
IMPORTANT – For security purposes, new account email addresses must be verified to enable certain features. To do this, simply login to your account and follow the prompt located at the bottom left corner of your dashboard.
Note: if using an .edu email, please check your spam folder initially.

Tip 1
TO UPLOAD IMAGES you will need to have access to the athlete’s images, whether on a CD, zip file, or a thumb drive. Note: if on a CD, you’ll need a CD drive connected to your computer.
Tip 2
TO SHARE IMAGES with Physicians or Family, select “Share” from the menu located at the top right corner of an image. Images can be shared with physicians or family members – with or without a mymedicalimages account.
Note: recipients without a mymedicalimages account will have view-only access.
*Hint*
Have your images been viewed yet? To check the “View Status” (pending or viewed), click on the “Share History”, and choose tab “I Shared”.
Tip 3
TO REQUEST IMAGES select “Requested Images” from the drop-down menu located at the top left corner of your dashboard (home screen).
Input the athlete’s email and name. Athletes will be able to upload images at no cost and will receive a Free Basic Account. Once images have been received, an email notification will be sent from mymedicalimages. The status of requested images can be found on the “Request History” table.
Note: Use the Search Bar to find images from anywhere in your account. Type in the athlete’s name.
Tip 4
IF YOUR FACILITY HAS X-RAY or other medical imaging (DICOM) equipment you may be able to enable staff to view images immediately, without leaving the field of play.
For more information, to schedule a brief demo, or to set up our DICOM send feature
– please contact us at demo@mymedicalimages.com


