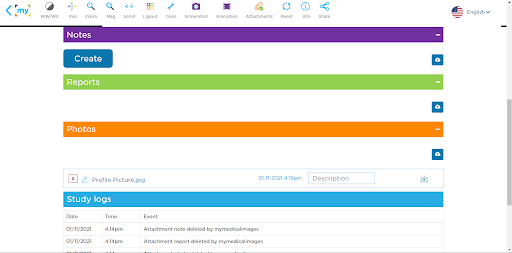
Adding Attachments
Step 1: Log-in to your mymedicalimages account at https://app.mymedicalimages.com/.
Step 2: Open the image set you would like to add attachments to in the Image Viewer.
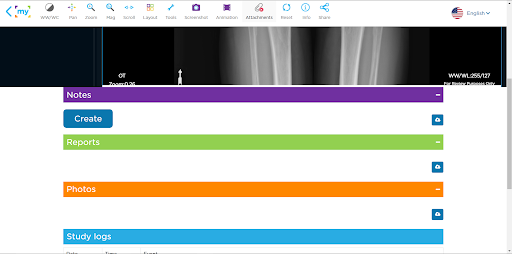
Step 3: Click on the “Attachments” tool in the toolbar along the top of the viewer.
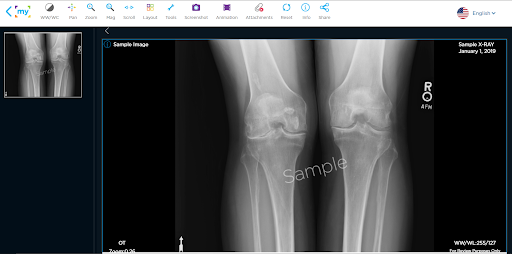
Step 4: Click on the blue “Cloud” icon next to the attachment type you would like to upload.
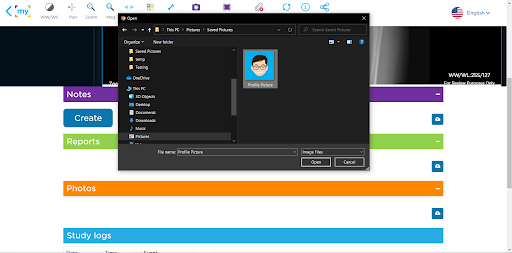
Step 5: Select the attachment you would like to add, then click on the “Open” button. If you have shared this image set with someone else, proceed to Step 6, otherwise, skip to Step 7.
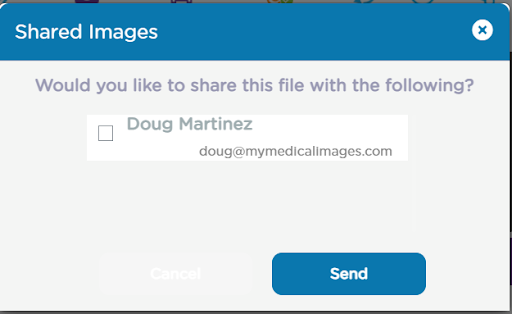
Step 6: In the popup that appears, select any individuals whom you have shared the images with to also receive the attachment. The attachment you are uploading will be automatically added to the list of attachments that are included with the shared image..
If you do not want to share the attachments with anyone that has been shared the image set, click on the “x” icon in the top right-hand corner of the popup to close the window.
Step 7: The attachment will now appear in the attachments section of the image set, and a an entry will be added to the Study Log at the bottom of the page detailing when it was added.