Getting the Most out of the Dashboard
All of the images you upload to our website can be found on the Dashboard! From here, you view and manage your images in a variety of different ways!
Searching for Images and using Filters
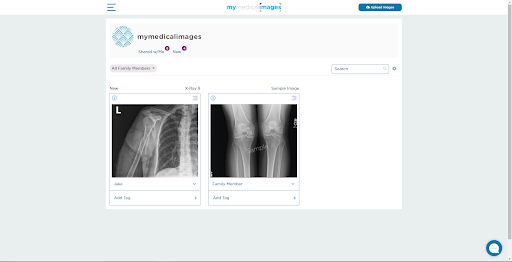
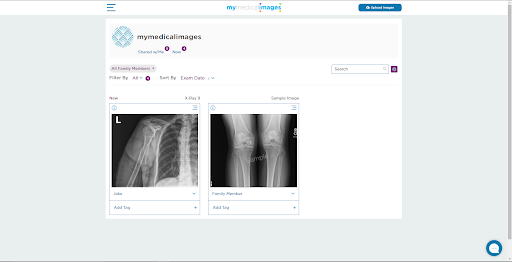
Any images you have in your account can be easily located using the search bar in the upper right-hand corner of the site. You can fill out the search bar with the name of the patient, the type of file, or the patient ID in order to locate the images you’re looking for! If you require a more detailed search, you can click on the grey gear icon to gain access to a variety of filters that will let you sort by New, A to Z, Exam Dates, etc, allowing you to pull up what you need, when you need it!
Fast Look at Information About A Study
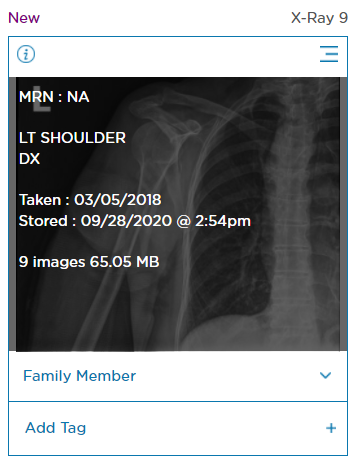
In the top left-hand corner of a Study, you will see an “i” icon. This icon will give you quick access to some detailed information about the study, including the type of file and when the image was originally taken, as well as when it was uploaded to the site!
Everything in One Place! Using the Menu Button
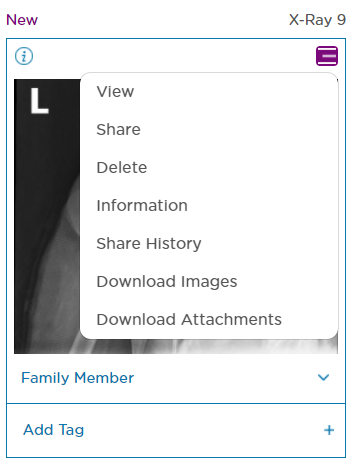
In the top left-hand corner of the study is a menu icon that gives you quick access to everything related to studies! From viewing, to sharing, to downloading, it’s all right here!
Keeping Track of your Family Members!
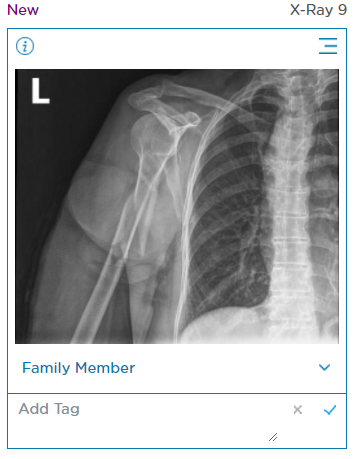
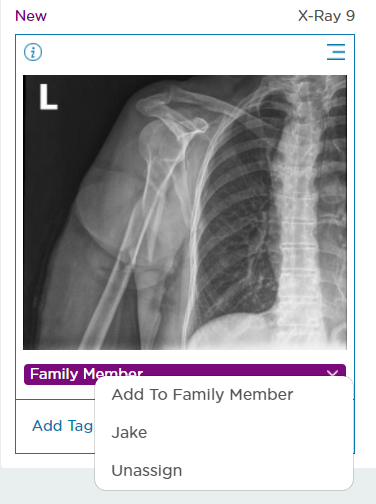
We know that family comes first, so we’ve taken steps to making it easy for you to organize your family’s images! Using the Family Member dropdown menu at the bottom of the study, you can designate what images belong to certain members of your family for quick reference using our search system!
Tag’s for Everything Else!
If you’re looking for a way to categorize your images on a more detailed level, we’ve got you covered! At the bottom of the study, you can open the Tags dropdown menu to add custom tags to your images for easier referencing!