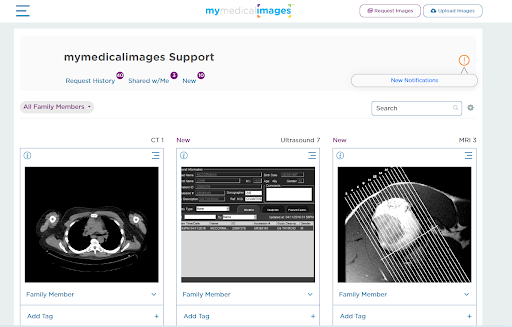
Uploading Images Using mymedicalimages
Step 1: Log-in to your mymedicalimages account at https://app.mymedicalimages.com/
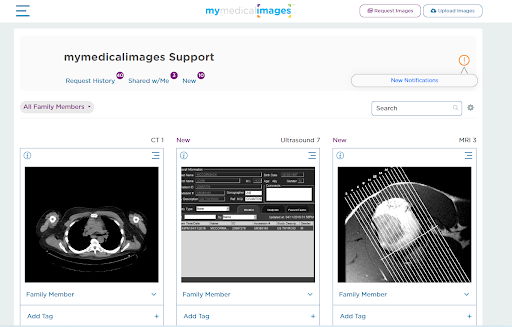
Step 2: In the top right-hand corner of the screen, click on the blue “Upload Images” button.
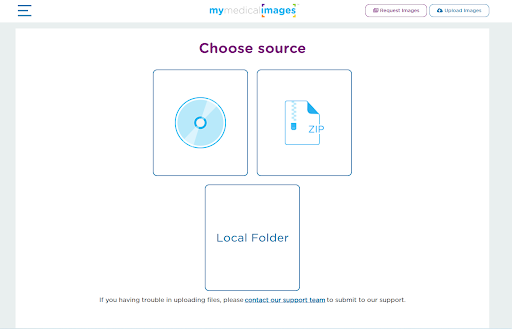
Step 3: Select the file source.
You will have the option to pick between a CD, a .zip file, or “other”. If the images you are attempting to upload are not on a CD or contained in a .zip file, you will need to select the “other” option.
The following steps you need to take will change depending on what source type you choose.
If your files are on a CD, select the “CD” option and go to “For CD”.
If your files are on a .zip file, select the “.zip” option and go to “For .zip File”.
If your files are on neither a CD or a .zip file, select the “other” option and go to “For Other”
For CD:
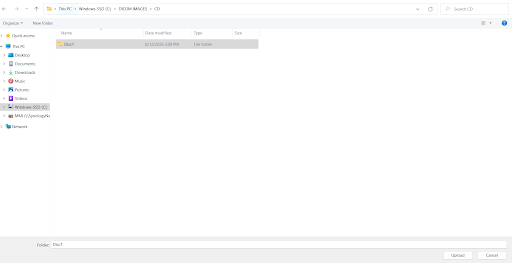
1. Insert the disk and click on the next button.
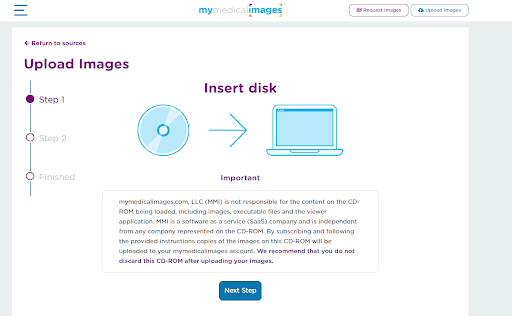
2. Click on the “Click Here” button to open the file explorer window.
3. Select your computer’s CD Drive.
4. Select the folder in your CD containing your DICOM files.
5. Click on the “upload” button in the bottom right-hand corner of the window.
6. Go to Step 5.
For .zip:
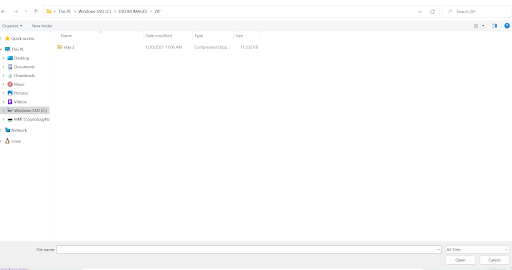
1. Click on the “Click here” button to open the file explorer window.
2. Navigate to the .zip file you wish to upload and select it.
3. Click the “Open” button in the bottom right-hand corner of the window.
4. Go to Step 5.
For Local Folder:
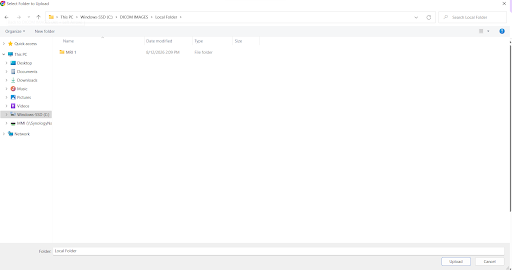
1. Click on the “Click here” button to open the file explorer window.
2. Navigate to the file you wish to upload and select it.
3. Click the “Upload” button in the bottom right-hand corner of the window.
4. Go to Step 5.
Wait for Upload to complete
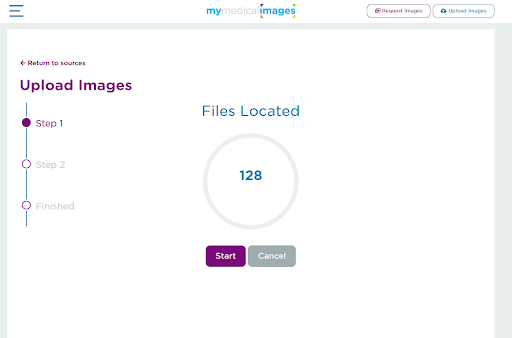
Now that you have the file selected, click on the start button and you will see the word “Uploading” above a circle with the number of files being uploaded inside of the circle, similar to the one depicted below.
Step 6: After the upload is complete, you will be sent back to the dashboard. Your images will populate here and be marked as “new” until they are opened for viewing for the first time.