The Dashboard
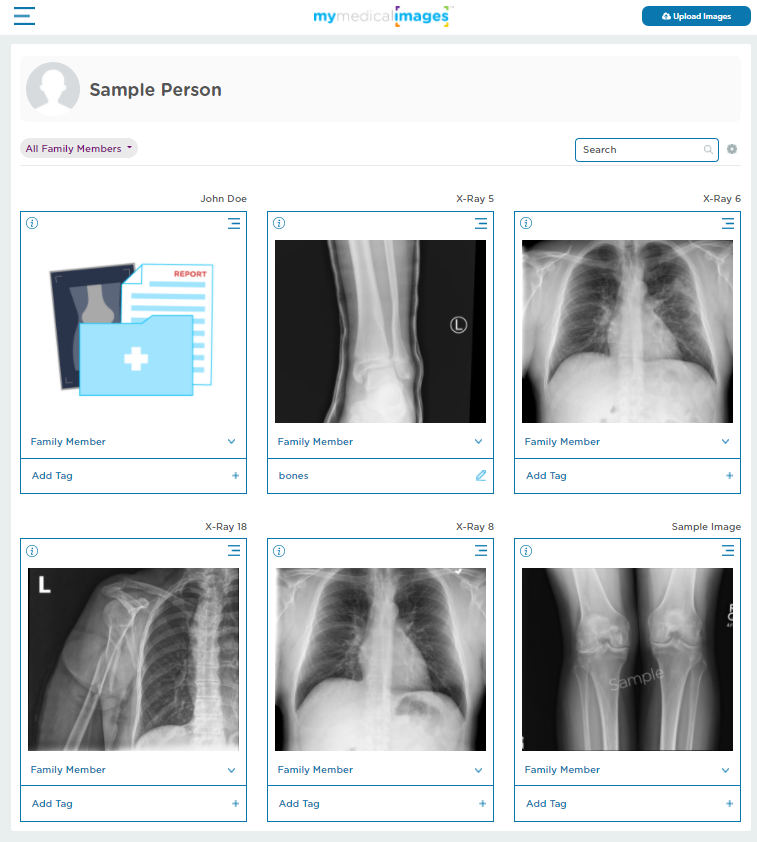
The dashboard is the page that you will be redirected to immediately after signing in.
It acts as the homepage for your account, and gives you access to all of the images tied to your account, which are displayed as previews on the page.
If you have multiple studies in your account, a new page will be created that can be accessed by clicking the purple “Next” button at the bottom of the screen, or by clicking on the number of the page you would like to access.
The Study Preview
For each of the studies added to your account, there will be a study preview generated and added to your dashboard.
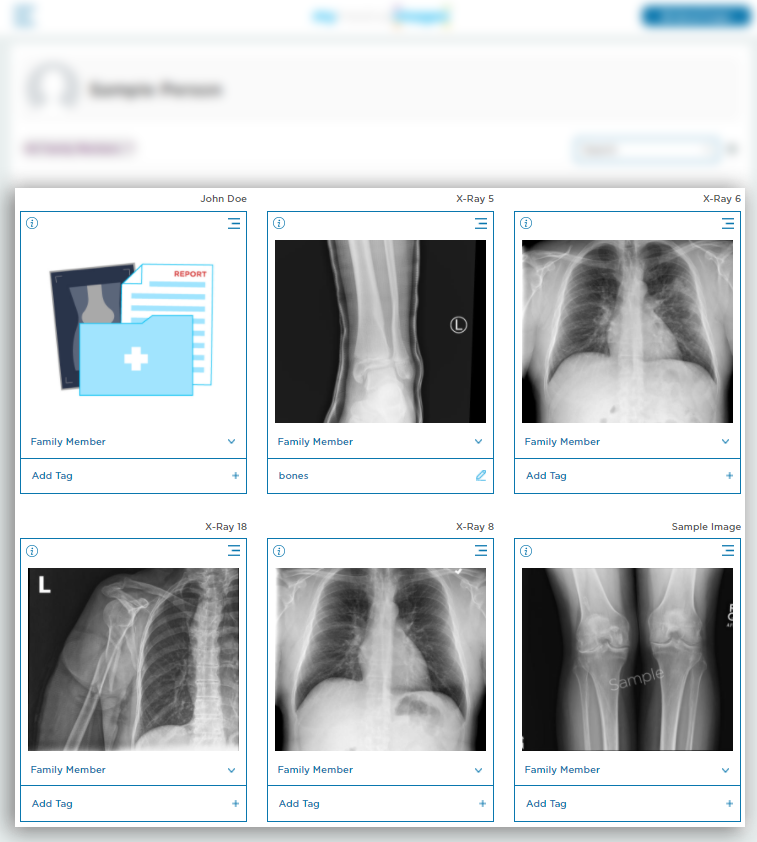
These previews will look like photographs, and have the following information and functions available.
Patient Name: This will be located in the top right-hand corner above the study.
i: This button will allow you to quickly look at the information associated with the study.

Menu: The hamburger menu button located in the top right-hand corner underneath the patient’s name will open a dropdown menu similar to the one depicted below.
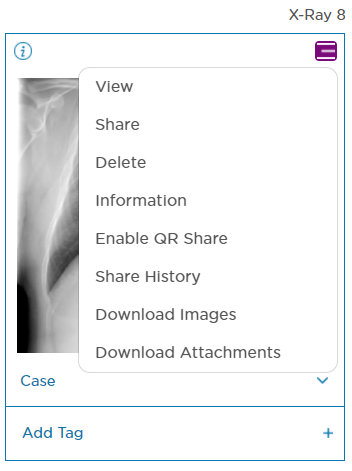
This dropdown menu will allow you access the following options:
View: This option will open the DICOM Viewer and allow you to view your images and provide additional tools to adjust how the images are displayed. For a full list of the features available, please click here.
Share: This option will allow you to share the study and any included attachments with another user. for a brief guide on how to share a study, click here.
Delete: This option will allow you to delete the study, removing it from your account and revoking any access that other users were given via the ‘Share’ feature.
Information: This option will give the following information related to the selected study:
1. First Name
2. Last Name
3. Patient’s Birthdate
4. Study Descriptions
5. Series Description
6. Institution
7. Date Taken
8. Patient I.D.
9. Accession
10. History
11. Study U.I.D.
12. Sent From AE Title
13. Sent to AE Title
Enable QR Share: This option will generate a QR Code for the image which can be scanned by another user and allow them access to the study. For more details, please click here.
Share History: This option will take you to the share history for the selected study, allowing you to review and manage any users that the study has been shared too. A brief rundown of the ‘Share History’ page can be accessed here.
Download Images: This option will allow you to download the DICOM images associated with the study to your computer. Please note that these will be the raw DICOM files, and that a DICOM viewer will be required to view them.
Download Attachments: This option will allow you to download any attachments that were included with the study.
Family Member: This feature allows you to assign the study to a Family Member’s folder for better categorization.
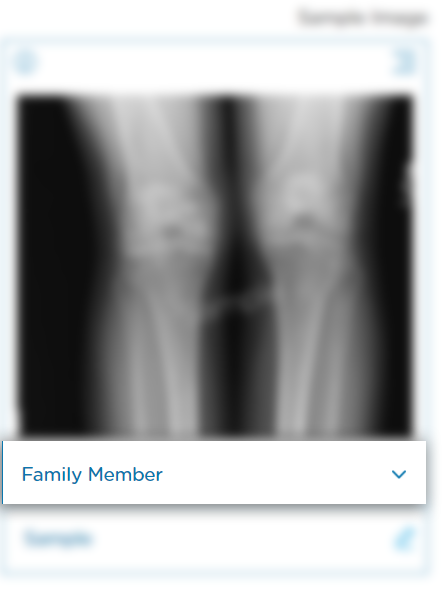
Tag: This feature allows you to add a tag to the study, which can be used with the Search bar to quickly pull up related studies.

Sorting Tools
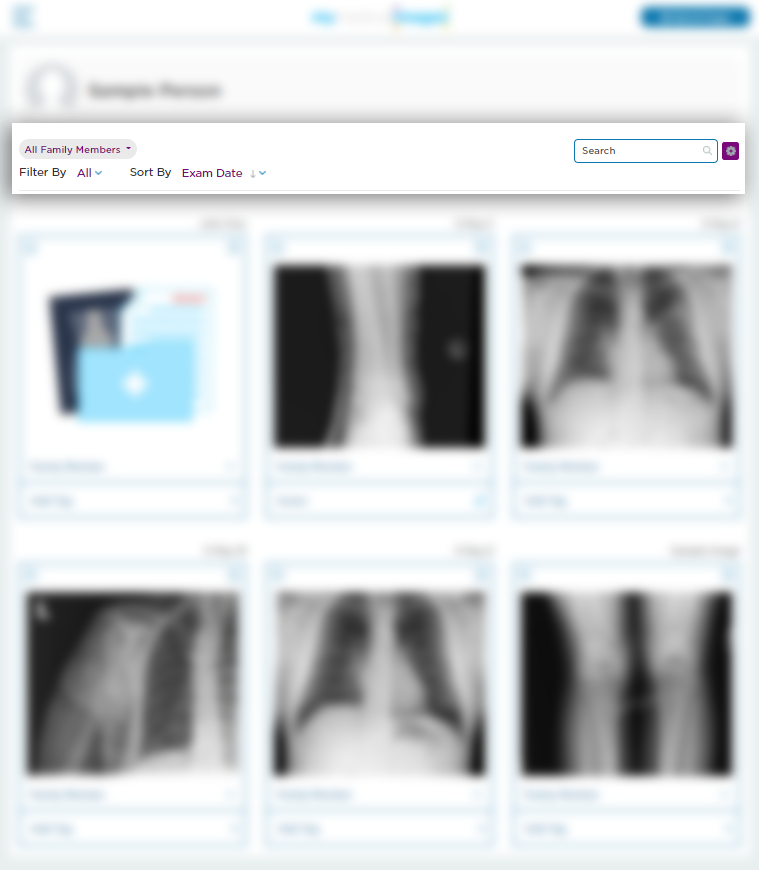
Listed below are a suite of sorting tools that you can use to quickly search for specific studies.
All Family Members: You can use this option to pull up all of the studies related to a specific family member folder that you have created.

Filter By: You can use this option to filter between all of the studies in your account, or limit the display to only studies marked as new.

Sort By: You can use this option to display studies in order from exam date, the patient’s first or last name, the date they were added to the account, or their tags.

Search: In addition to the previous sorting tools, mymedicalimages also provides a search bar so you can quickly search using terms such as X-ray, MRI, Ultrasound, etc., the patient name or patient ID, or the date the study was taken.

Shared w/ Me: This button will display any studies that were recently shared to your account using our share feature.

New: This button will restrict the studies displayed to only those marked as “new”. A new study is any study that has been added to your account, but not been viewed in the viewer.

The Main Menu
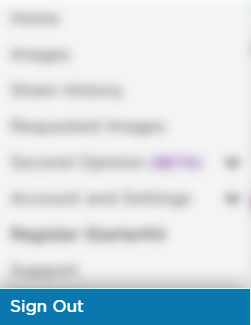
Located in the top left-hand corner of the dashboard is the Main Menu. This menu will allow you to navigate to the rest of the site, with the various pages described briefly below.
Home: This will take you back to the homepage for the website.
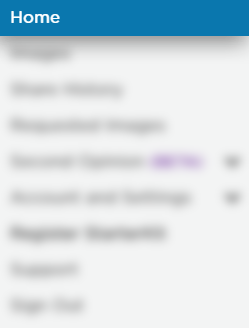
Images: This will take you back to the main dashboard.
Share History: This page is where you can review shares you’ve sent and received using our Share feature.
Requested Images: This page allows you to request studies from individuals to be uploaded into your account, as well as review pending requests.
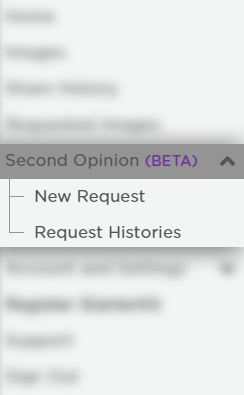
Second Opinion: This submenu allows you to search for Physicians and request Second Opinions from them and review Second Opinions that you have received.
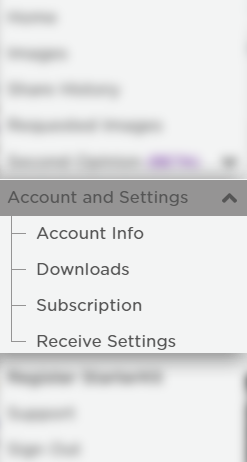
Account and Settings: This submenu gives you access to your profile information, downloads page, subscription plan, and DICOM receive settings.
Register StarterKit: This page will allow you to register a mymedicalimages StarterKit that you’ve purchased.
Support: This page will point to our FAQ page, which contains a chat box and the number for our support line if you cannot find the answer to your question.
Sign Out: When you are finished using mymedicalimages.com, you can sign out with this option.
