
Account Creation
Step 1: Navigate to https://www.mymedicalimages.com/.
Step 2: Click on the blue “I’m a Physician” button.
Step 3: Click on the blue “Get Started For Free” button.
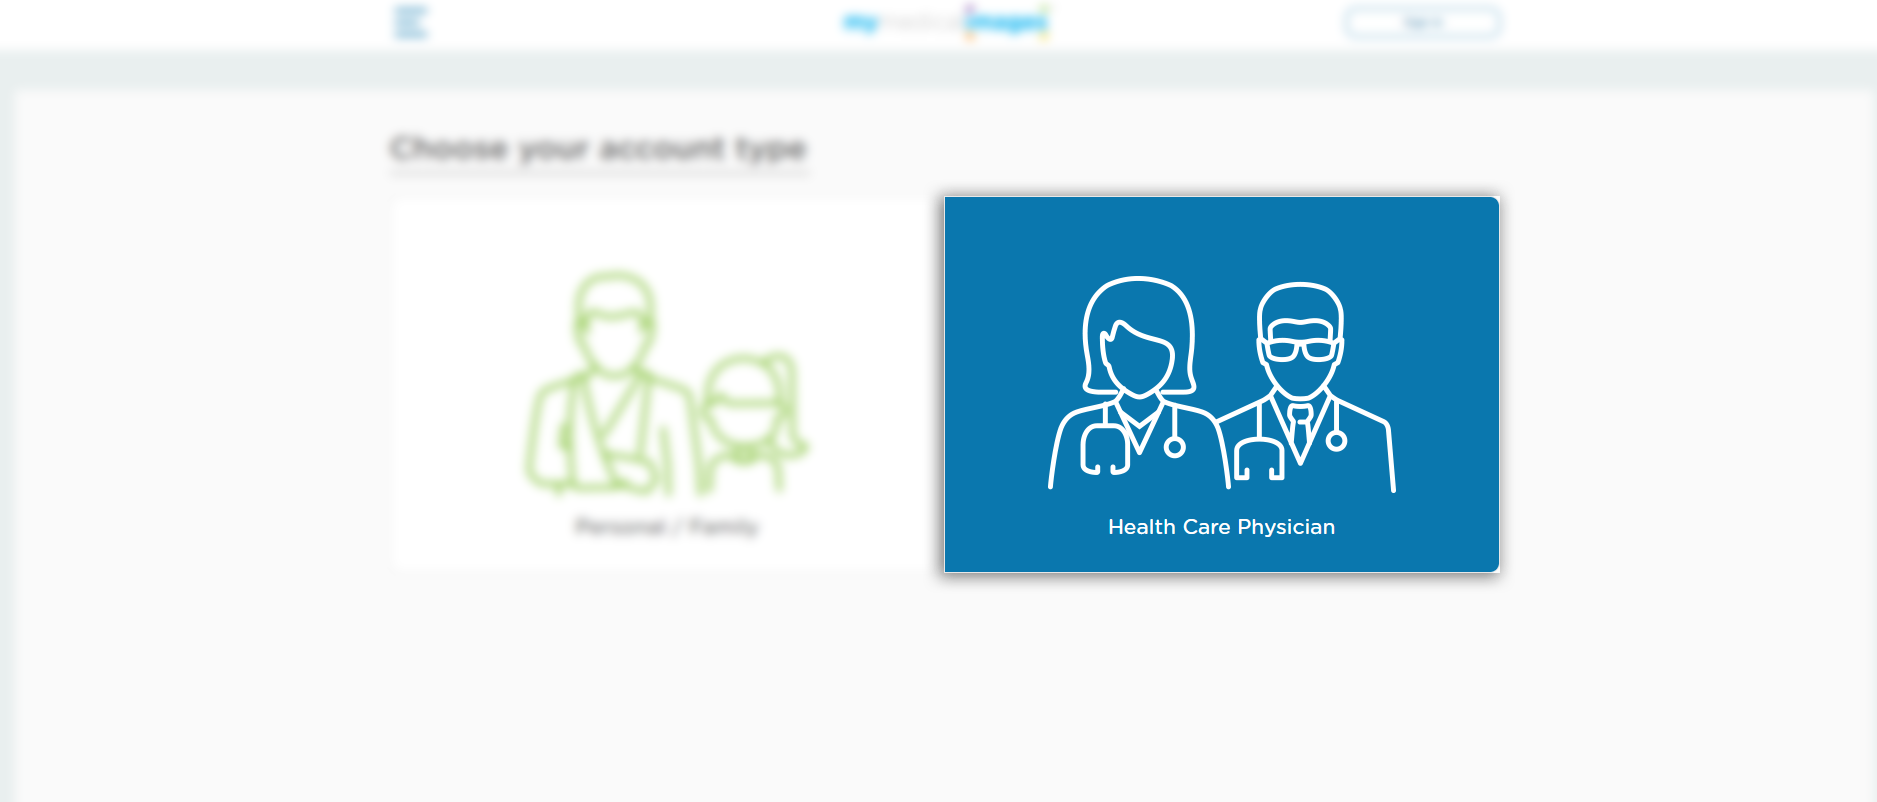
Step 4: Select the “Health Care Physician” option for your account.
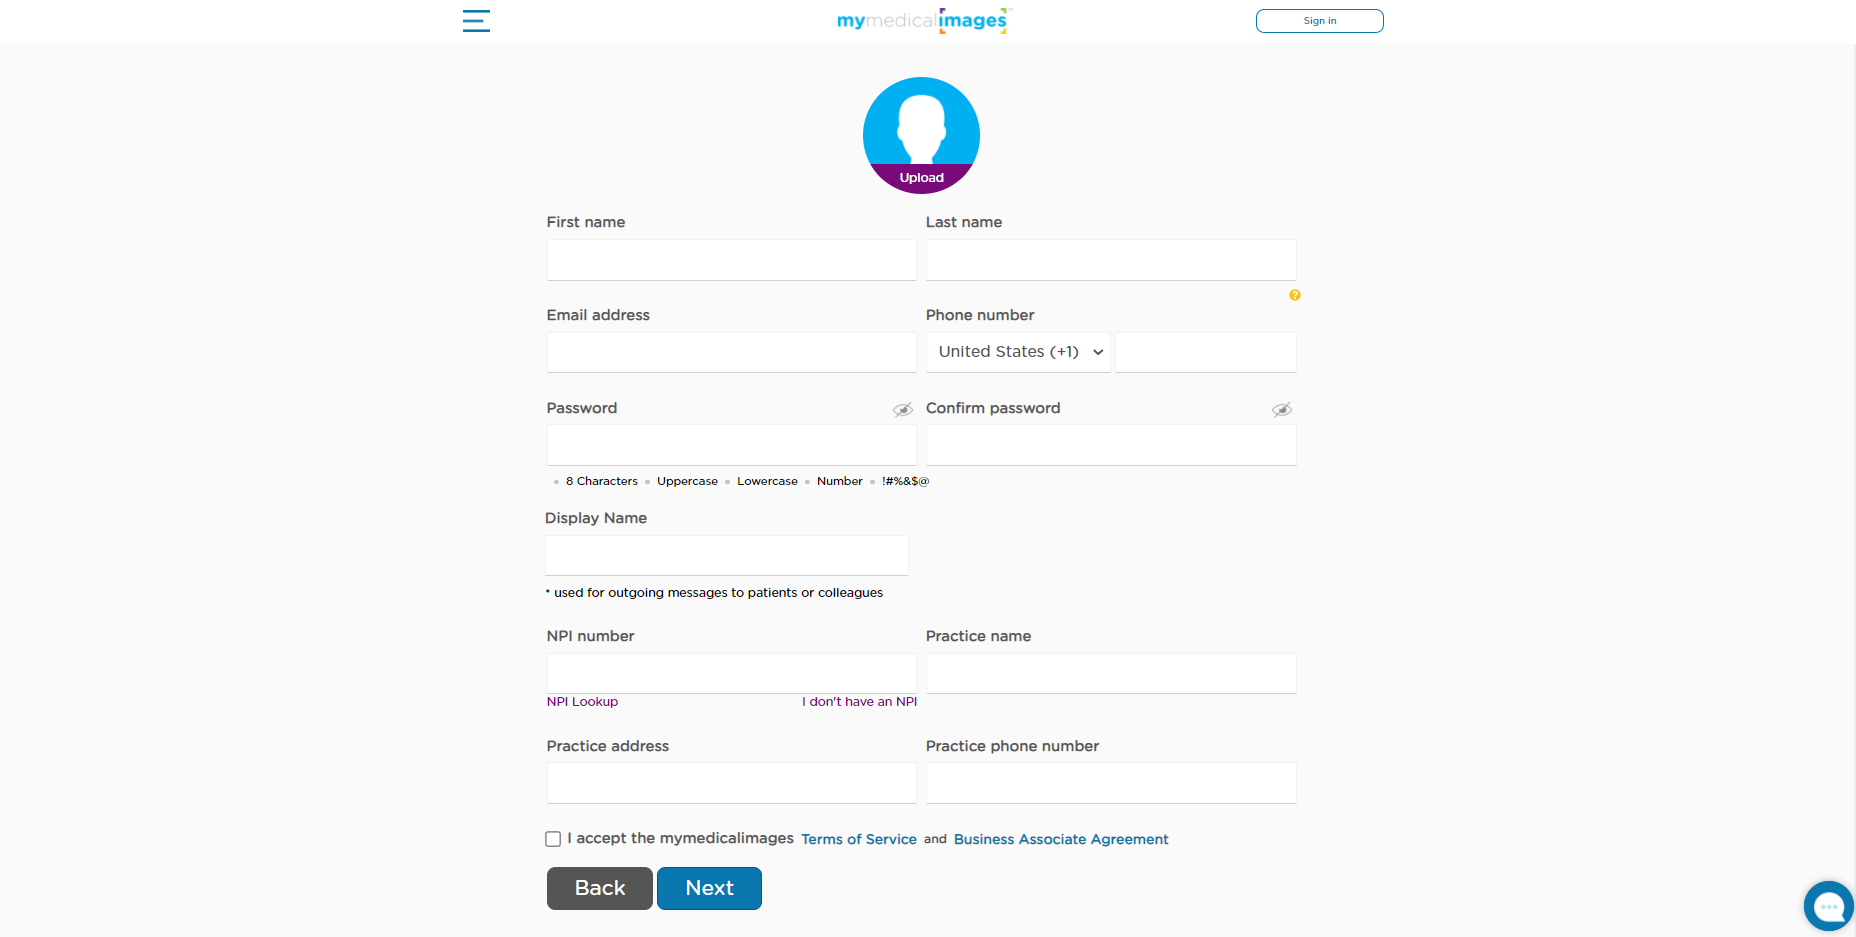
Step 5: Fill out your account information with your First Name, Last Name, Email Address, Phone Number, Password, Display Name, NPI Number, Practice name Practice address and Practice phone number.
1. For your Phone Number, select your country where you reside and include the area code for the number in question.
You must use only numerical digits, no special characters such as: ( – . / )
2. Your Password must be at least 8 characters long and include at least 1 Uppercase letter, 1 Lowercase letter, 1 Number, and 1 symbol (!#%&$@).
3. Your Display Name will be the name used to identify your account while using mymedicalimages.
4. The NPI number is a unique identification number for covered health care providers.
If you do not have an NPI number and you are a practicing physician outside the U.S., please enter a verifiable registration number such as your GMC (UK) or AHPRA (Australia). If you do not have a provider registration number, please enter a phone number where your information can be verified.
Once the information is entered, click the check box for “I accept the mymedicalimages Terms of Service” and click on the blue “Next” button.
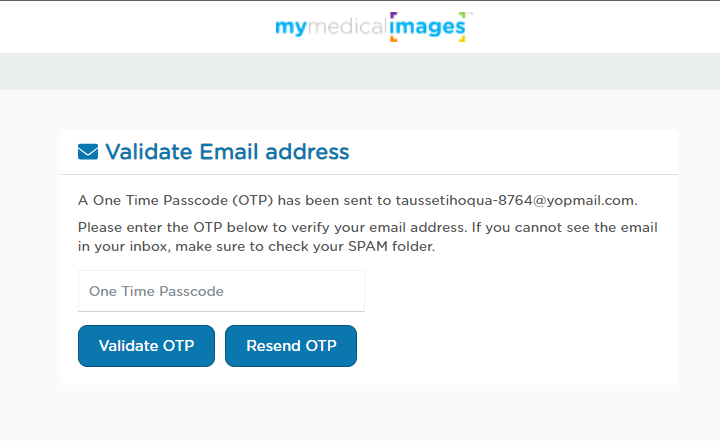
Step 6: After clicking next, you will be taken to the Validate Email address page. You will have been sent a 6 digit one-time passcode to the email address entered during account creation. You will need to copy that 6 digit passcode and enter it into the ‘One Time Passcode’ text box. Once you have done this, click on the ‘Validate OTP’ button.
If you have not received a passcode, you can click on the ‘Resend OTP’ button to have another one sent to your email address.
In order to access all of the features provided by mymedicalimages, you must validate your email address.
After you click ‘Validate OTP’, you will be shown a Thank You screen before being redirected to the dashboard for your account.
Step 7: In the Pop-up window, select the area you specialize in. Once you have selected your specialty, click the green “Save” button.
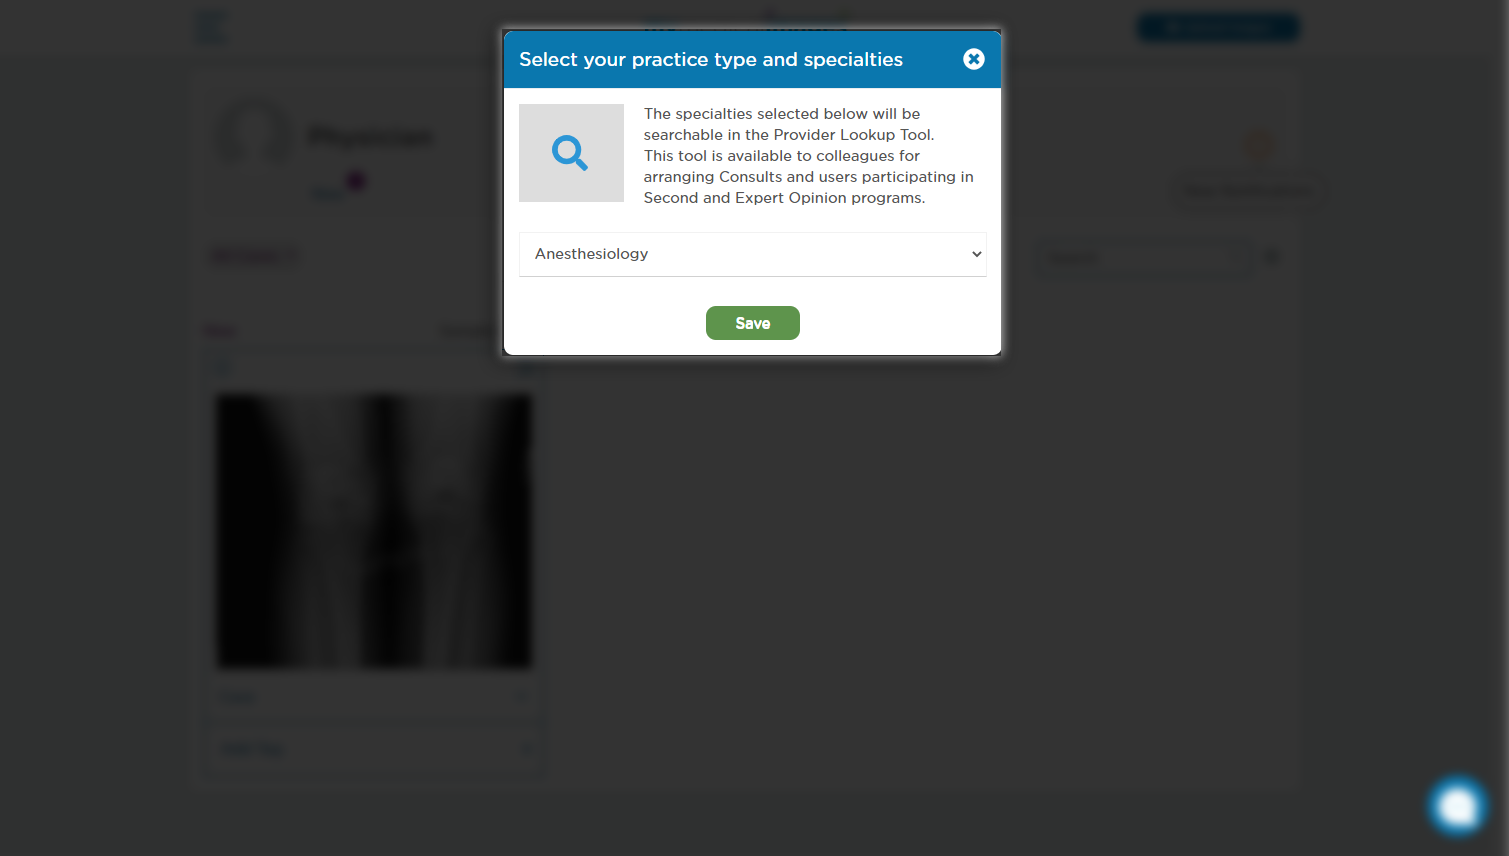
You have successfully created your account!
Now that you’ve created your account, check out the links below for more information on to take advantage of the various features at your disposal:


