Webpage Uploader and Upload Buttons
Before getting started, please contact uploader@mymedicalimages.com to enable the webpage uploader for your account.
The mymedicalimages Webpage Uploader is a tool you can implement to make receiving images from your patients quick and easy. With this feature, you can allow patients to upload directly to your account through a webpage you generate.
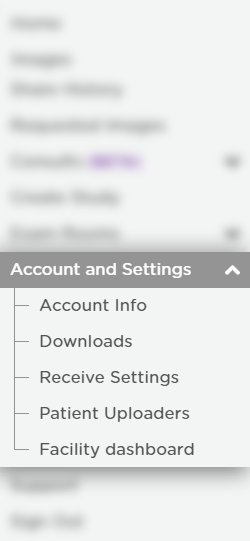
This feature is located in the Main Menu, under the “Account and Settings” submenu labeled as “Patient Uploaders”.
You will be redirected to the “Webpage Uploader” page of our site, similar to the one pictured below.
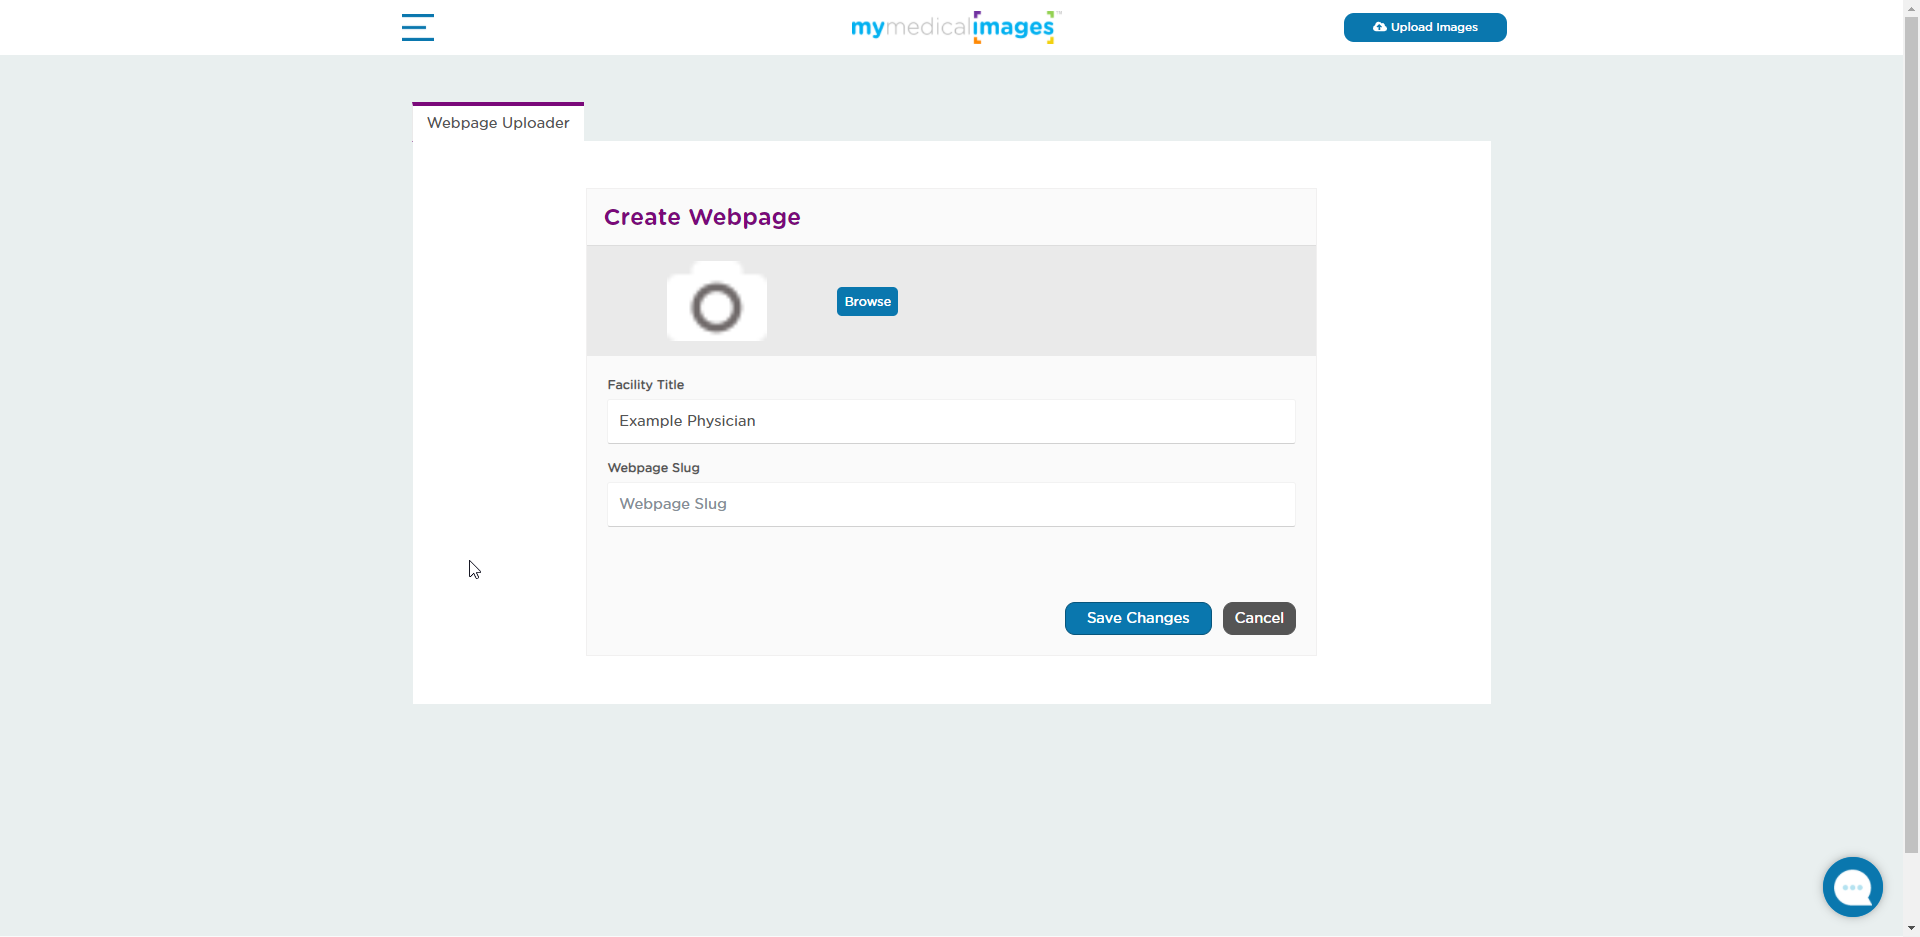
Creating a Webpage
To create a webpage for your mymedicalimages account, you will need follow the steps detailed below.
Step 1: Make sure you are on the “Webpage Uploader” tab.
Depending on the type of your account, this might be the only tab you have access to. If so, proceed to step 2.

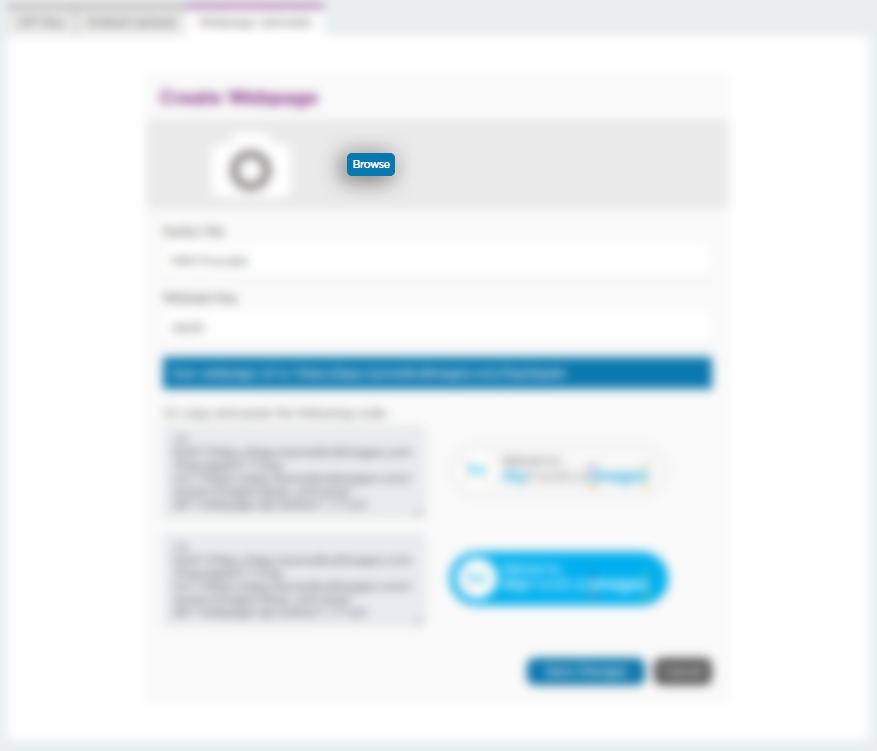
Step 2: Click on the blue “Browse” button to select an image to represent your website.
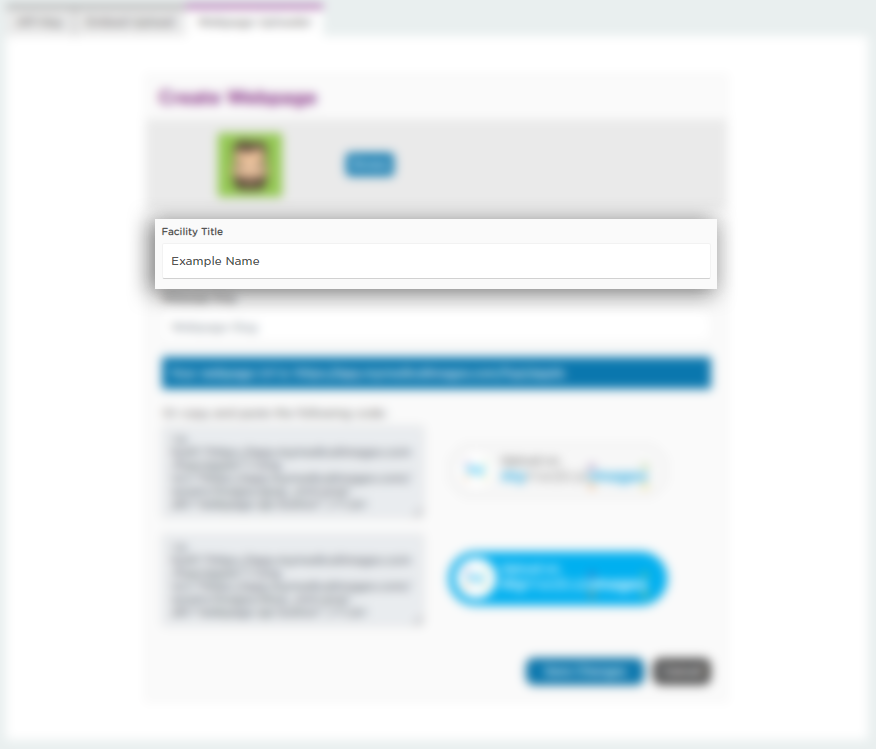
Step 3: In the text field labeled “Facility Title”, enter in the name of your practice.
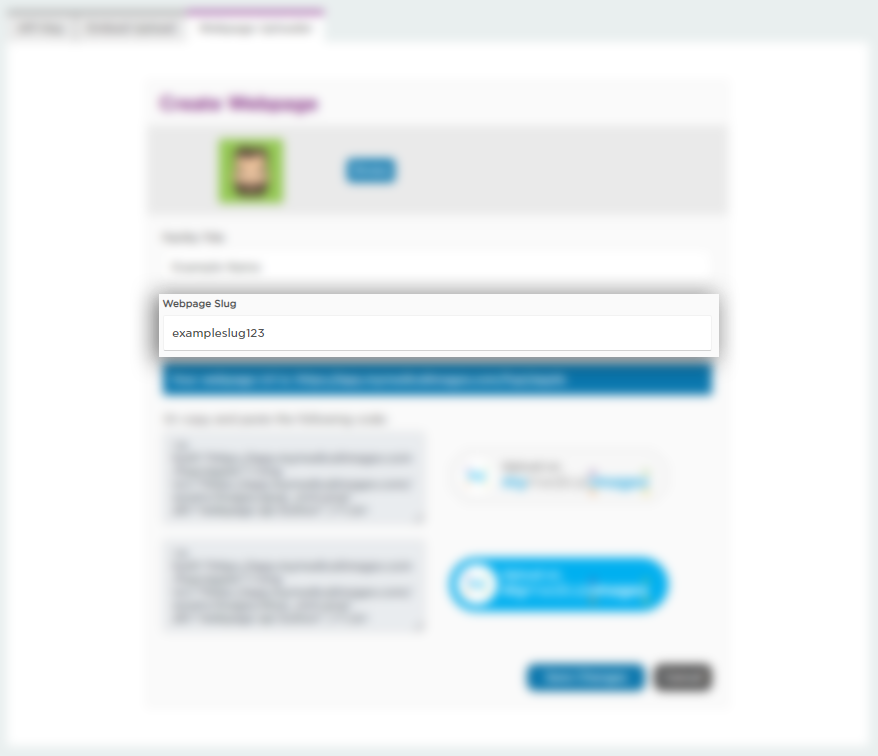
Step 4: In the field labeled webpage slug, enter a word or phrase for your slug. This will be added onto the end of the webpage URL linked to your account.
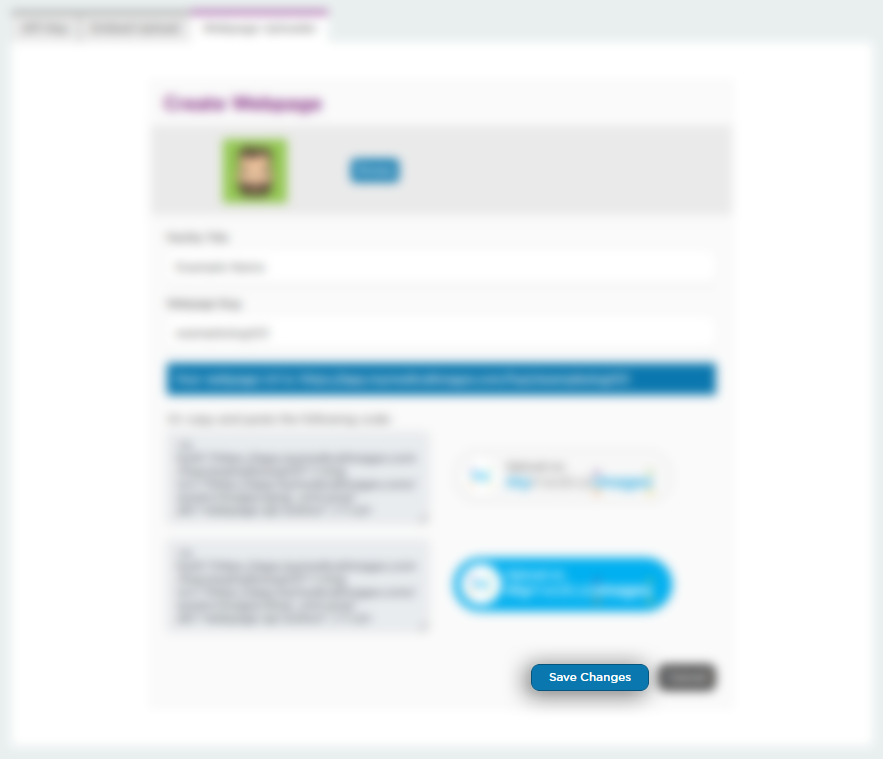
Step 5: Click on the blue “Save Changes” button at the bottom of the page.
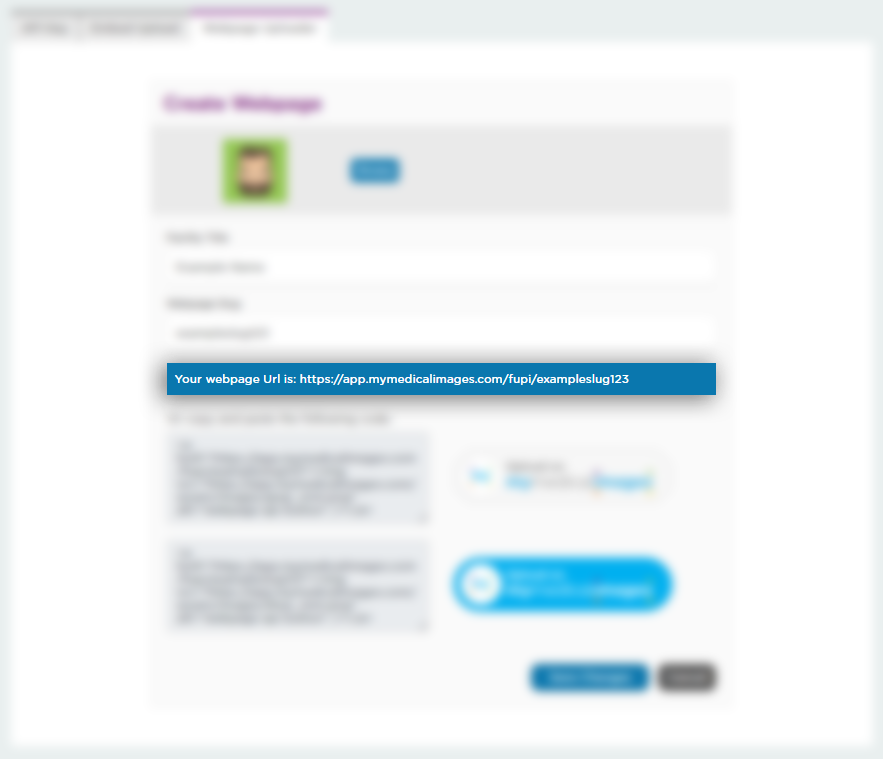
Once you have completed the steps above, your webpage URL will be generated and displayed under the text field for the slug, similar to the one shown below.
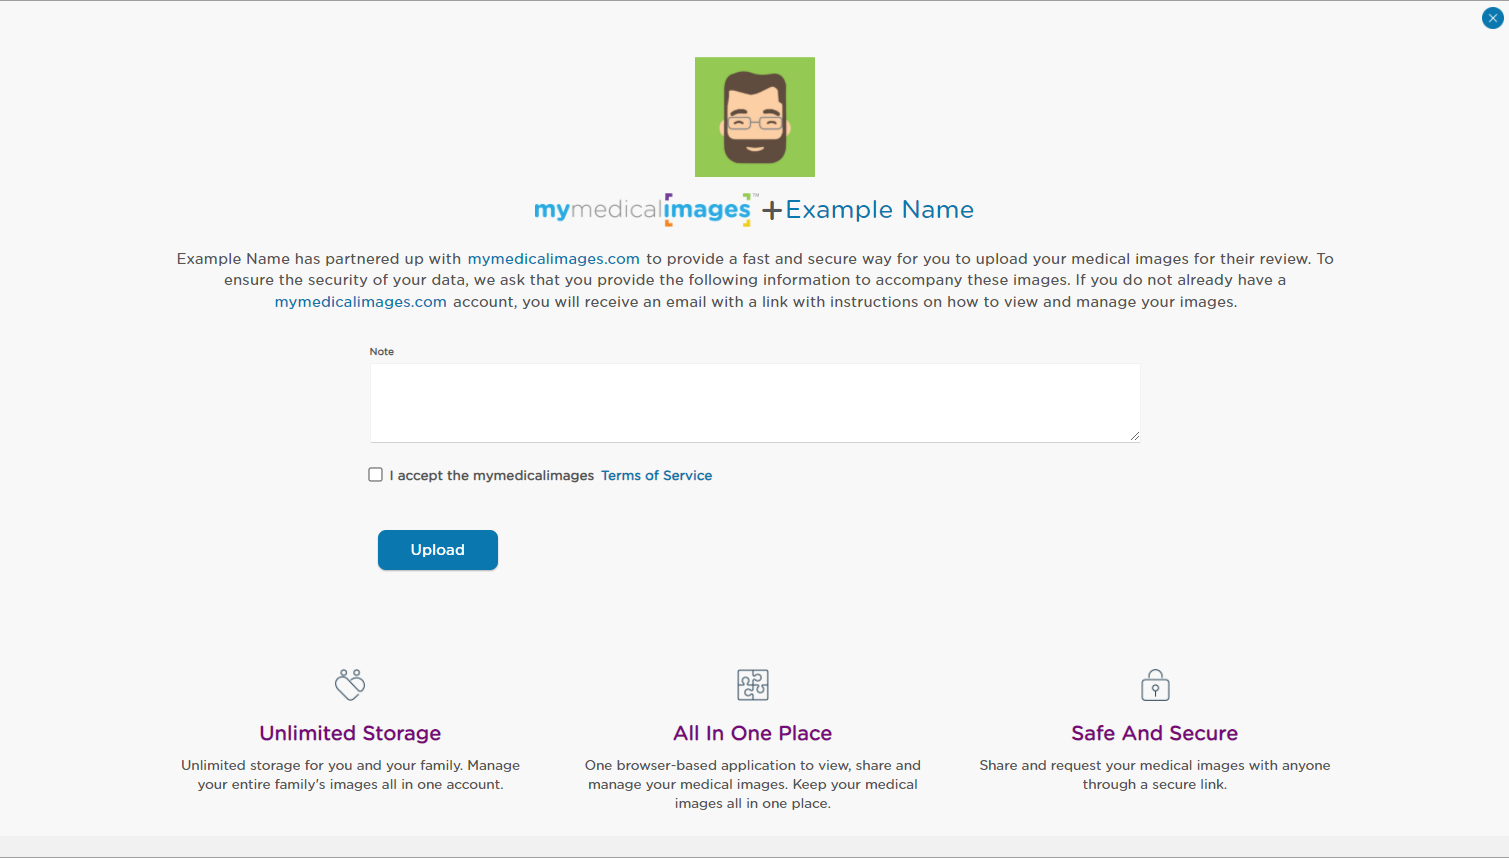
Entering the URL into your address bar will take you to your uploader page which will look like the example below.
Uploader Button
In addition to your URL, an embed code will generate at the bottom of the page for an Uploader Button.
This button comes in alternate colors, with the choice to represent our sites logo, or our partnership with AAOE on your website. An example of these buttons is shown below. They can be added to your practice website via HTML. When the button is clicked it will navigate the user directly to your webpage uploader.
